The LEMP stack—Linux, Nginx (pronounced “engine-x”), MySQL, and PHP—is a popular open-source platform for developing and deploying web applications. In this guide, we’ll walk through the steps to install and configure LEMP on Ubuntu 24.04, ensuring a smooth and functional setup for your development or production environment.
Previously, we covered setting up a virtual machine instance in Google Cloud. In case you missed it, you can access it here: https://neverscript.com/cloud-computing/host-your-websites-on-google-cloud-for-free-setting-up-vm-instance-part-1/
Prerequisites
Before we begin, ensure you have:
- A fresh installation of Ubuntu 24.04.
- Sudo privileges on your server.
- Basic knowledge of terminal commands.
Let’s dive into the installation process step by step.
Step 1: Update the Package Repository
Start by updating your package lists to ensure you’re accessing the latest versions of the software:
sudo apt updateStep 2: Install Nginx
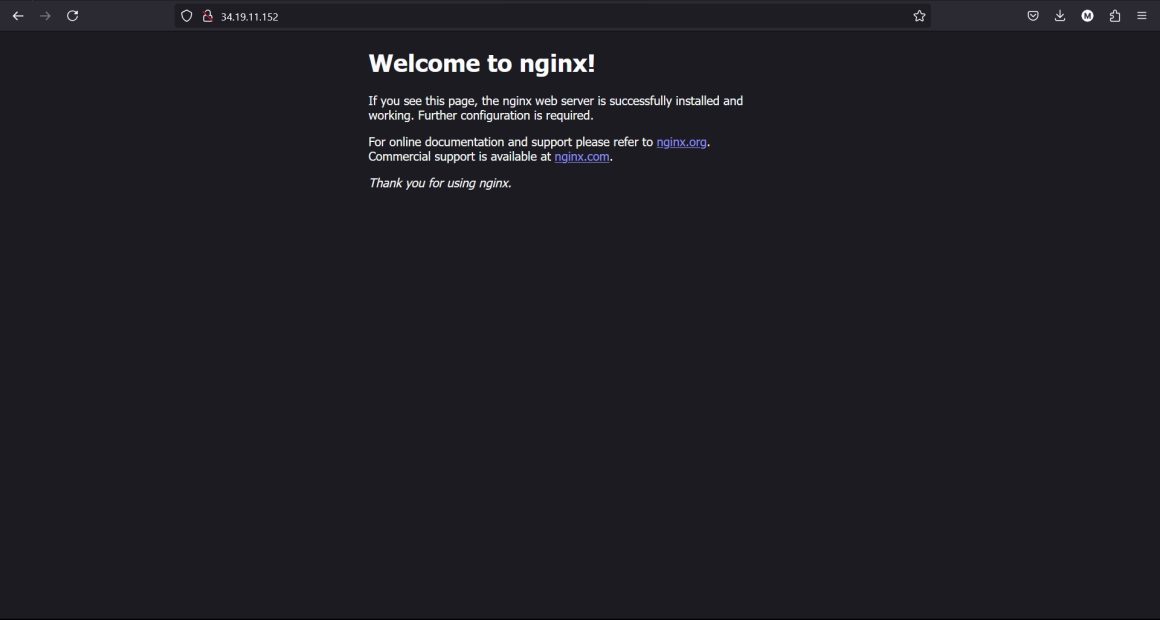
Nginx is the web server that will handle requests to your website. Install it with:
sudo apt install nginxOnce the installation completes, test it by opening your browser and navigating to your server’s IP address. You should see the “Welcome to nginx” page, indicating that Nginx is successfully installed and running.
Step 3: Install MySQL
MySQL is the database management system for storing and managing data. Install it using:
sudo apt install mysql-serverAfter installation, secure MySQL with the following command:
sudo mysql_secure_installationAnswer the prompts as you see fit, or simply type “y” and press Enter to accept the defaults.
To log in to MySQL as the root user:
sudo mysqlStep 4: Configure MySQL Authentication
By default, Ubuntu uses socket authentication for the root user. To enable password authentication for simplicity, run these commands within the MySQL shell:
ALTER USER 'root'@'localhost' IDENTIFIED WITH mysql_native_password BY 'secure_password';
FLUSH PRIVILEGES;
exit;
Replace secure_password with a strong password of your choice.
Step 5: Install PHP 8.4 and Extensions
PHP 8.4 is not included in Ubuntu’s default repositories, so you need to add the necessary repository:
sudo add-apt-repository ppa:ondrej/php
sudo apt update
Install PHP 8.4 and commonly used extensions:
sudo apt install php8.4 php8.4-fpm php8.4-mysql php-common php8.4-cli php8.4-common php8.4-opcache php8.4-readline php8.4-mbstring php8.4-xml php8.4-gd php8.4-curlStep 6: Manage Services
Control the states of Nginx, MySQL, and PHP services using the following commands:
- Check the status:
sudo systemctl status <service>(e.g.,nginx,mysql, orphp8.4-fpm) - Start a service:
sudo systemctl start <service> - Stop a service:
sudo systemctl stop <service> - Restart a service:
sudo systemctl restart <service> - Enable a service on boot:
sudo systemctl enable <service>
Step 7: Configure Nginx for PHP
The default Nginx configuration is not optimized for serving PHP files. Let’s create a new server block:
1. Remove the Default Configuration
sudo rm /etc/nginx/sites-enabled/default2. Create a New Configuration File
sudo nano /etc/nginx/sites-available/default.confPaste the following configuration:
server {
  listen 80;
  listen [::]:80;
  server_name _;
  root /var/www/html/;
  index index.php index.html index.htm index.nginx-debian.html;

  location / {
    try_files $uri $uri/ /index.php;
  }

  location ~ \.php$ {
    fastcgi_pass unix:/run/php/php8.4-fpm.sock;
    fastcgi_param SCRIPT_FILENAME $document_root$fastcgi_script_name;
    include fastcgi_params;
    include snippets/fastcgi-php.conf;
  }

  location ~* \.(jpg|jpeg|gif|png|webp|svg|woff|woff2|ttf|css|js|ico|xml)$ {
    access_log off;
    log_not_found off;
    expires 360d;
  }

  location ~ /\. {
    access_log off;
    log_not_found off;
    deny all;
  }
}
Save and close the file with Ctrl+O and Ctrl+X.
3. Enable the New Configuration
sudo ln -s /etc/nginx/sites-available/default.conf /etc/nginx/sites-enabled/4. Test the Configuration
Verify the configuration is correct:
sudo nginx -tIf there are no errors, restart Nginx:
sudo systemctl restart nginxStep 8: Test the Setup
Create a PHP file to ensure the setup works:
sudo nano /var/www/html/phpinfo.phpAdd the following content:
<?php phpinfo(); ?>Save and close the file. Open your browser and navigate to http://<server-ip>/phpinfo.php. You should see the PHP information page, confirming that PHP is correctly configured.
Conclusion
Congratulations! You have successfully installed and configured the LEMP stack on Ubuntu 24.04. Your server is now ready to host dynamic web applications. Feel free to explore additional configurations or deploy your first project. Happy coding!