If you’re looking to create a Virtual Machine (VM) on Google Cloud, this guide will walk you through the process in detail, ensuring that you don’t miss any critical steps. By the end, you’ll have a functional VM instance ready for use, complete with allocated swap space and a formatted data drive.
Step 1: Sign Up for Google Cloud
- Create a Google Account if you don’t already have one.
- Navigate to the Google Cloud Console.
- During the initial setup, Google will prompt you to provide basic information, including your credit card details for verification purposes.
- Once verified, you’ll gain access to the Google Cloud Console.
Step 2: Navigate to Compute Engine
- In the Google Cloud Console, open the menu from the top-left corner.
- Select Compute Engine > VM Instances.
- If prompted, enable the necessary API. Once enabled, you’ll be able to view the VM Instances section.
Step 3: Create a VM Instance
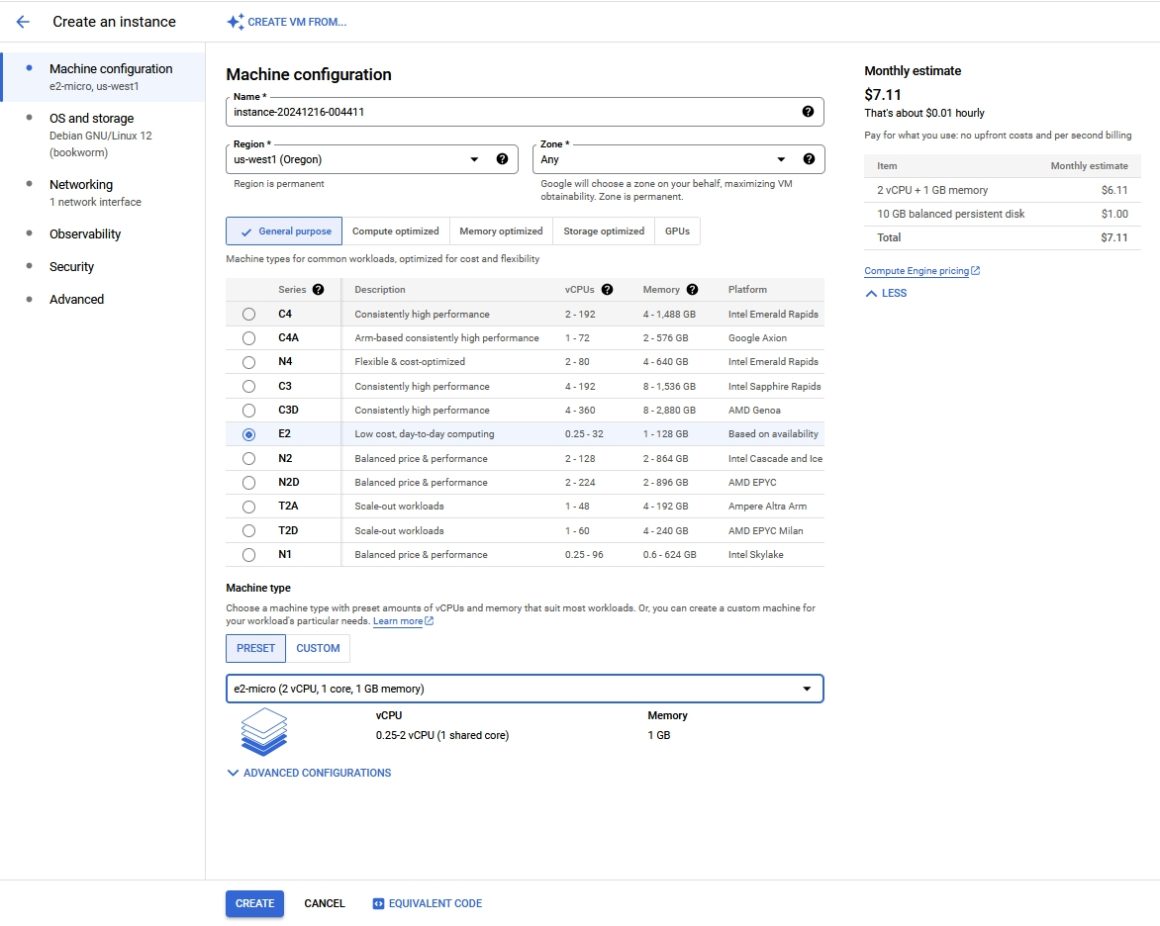
- Click Create Instance in the VM Instances section.
- Choose Free Tier Settings: For this guide, we use the e2-micro instance, which is included in the free tier and provides 30GB of storage.
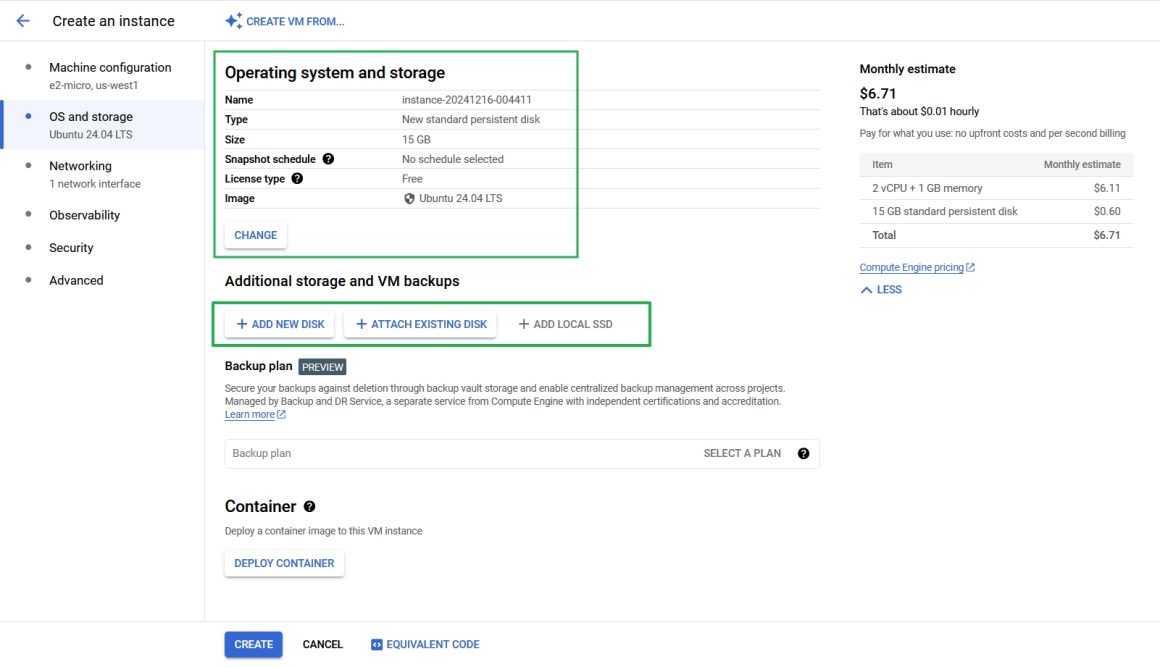
- Configure storage:
- Allocate 15GB for the OS and swap.
- Allocate 15GB for a data disk.
- Choose Ubuntu as the operating system.
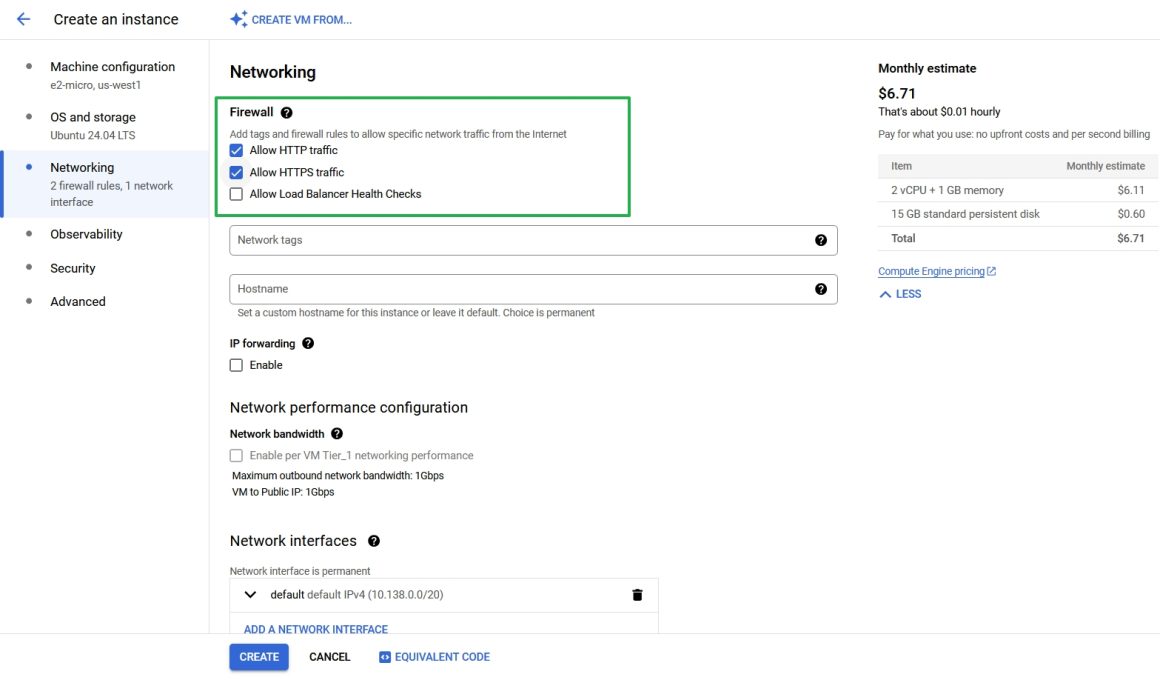
- Enable HTTP and HTTPS traffic to allow web access.
- Click Create to finalize the VM instance.
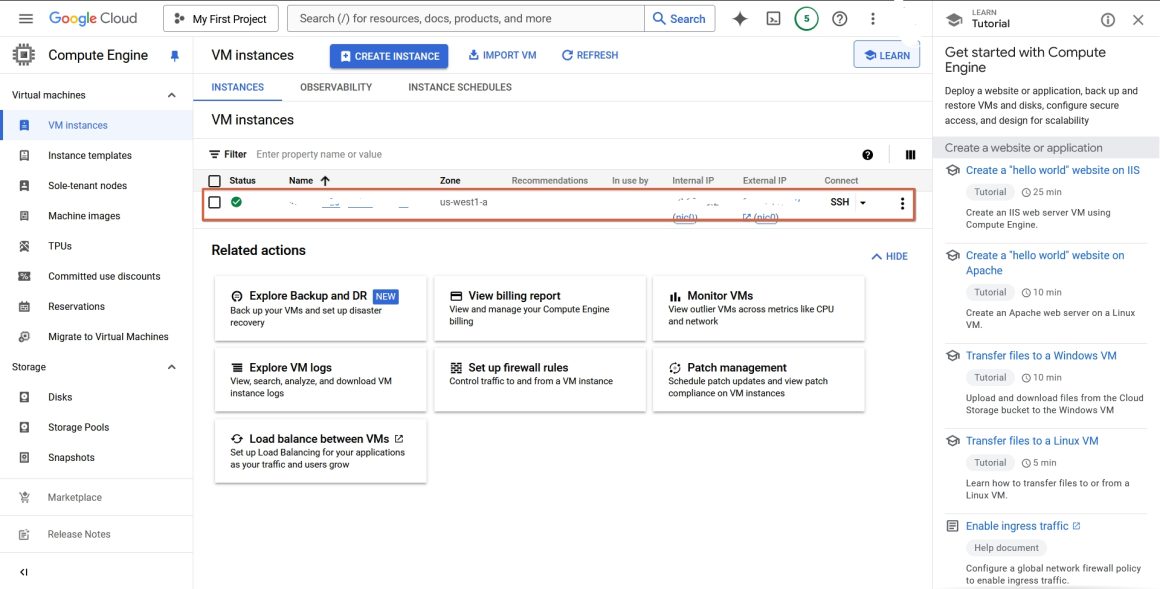
Step 4: Access Your VM Instance
- Once the VM is created, it will be assigned both an internal and an external IP address.
- To link a domain to your VM, create an A record pointing to the external IP address.
- For maintenance, use the browser-based SSH console:
- In the Connect column of the VM Instances table, click the three-dot icon on the right.
- Select Open in browser window to open your VM’s terminal in a new tab.
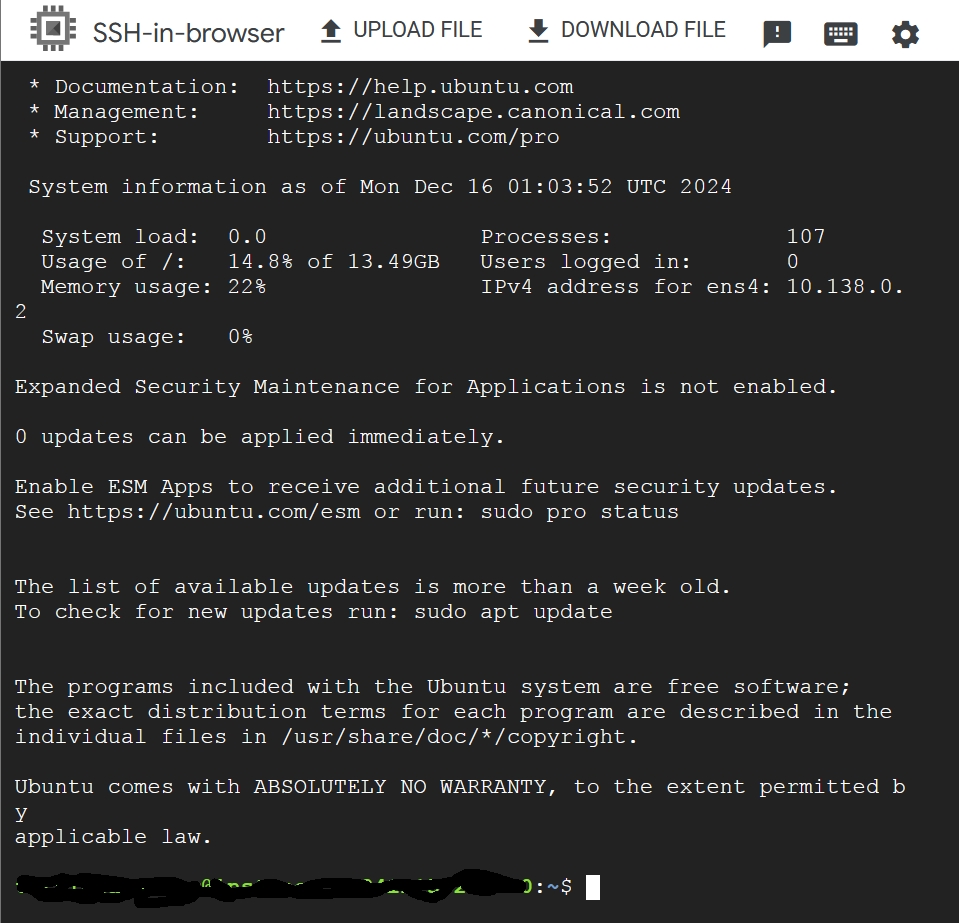
Step 5: Create and Configure Swap Space
With only 1GB of RAM, creating a swap file provides additional virtual memory for your system.
- Run the following commands sequentially to allocate a 2GB swap file:
sudo fallocate -l 2G /swapfilesudo chmod 600 /swapfilesudo mkswap /swapfilesudo swapon /swapfilesudo swapon -s
- To ensure the swap file is loaded on boot:
- Open the
/etc/fstabfile:sudo nano /etc/fstab - Add the following line:
/swapfile none swap sw 0 0 - Save and close the file using Ctrl+O and Ctrl+X.
- Open the
- To increase the swap size in the future (e.g., to 4GB), use these commands:
sudo swapoff /swapfilesudo fallocate -l 4G /swapfilesudo mkswap /swapfilesudo swapon /swapfile
- Check RAM and swap usage anytime using:
free -m
Step 6: Format and Mount the Data Drive
- Identify the disk using the command:
lsblk - Format the data drive as ext4:
sudo mkfs.ext4 /dev/sdb(Replace/dev/sdbwith the correct disk name if different.) - Create a mount point and mount the disk:
sudo mkdir /mnt/datasudo mount /dev/sdb /mnt/data
- To ensure the disk is mounted on boot:
- Open the
/etc/fstabfile:sudo nano /etc/fstab - Add the following line:
/dev/sdb /mnt/data ext4 defaults 0 0 - Save and close the file using Ctrl+O and Ctrl+X.
- Open the
- Verify the disk is mounted correctly using:
df -h
Step 7: Finalize Setup
- Perform a system restart to ensure all configurations are applied:
sudo reboot now - Once the system restarts, your VM is ready for further use.
- Consider installing a LEMP stack or other software based on your project requirements.
By following these steps, you’ll have a robust and functional VM instance ready for deployment and further customization. With swap space and a dedicated data disk, your VM is optimized for better performance even with limited resources.
Now, you can continue with the next part, where we will install the LEMP stack to configure our hosting environment: https://neverscript.com/cloud-computing/how-to-install-and-configure-the-lemp-stack-on-ubuntu-24-04-part-2/